


ChatView
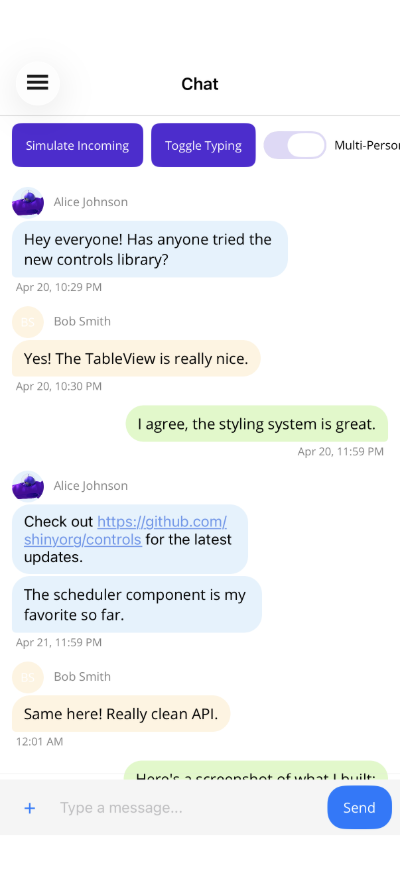
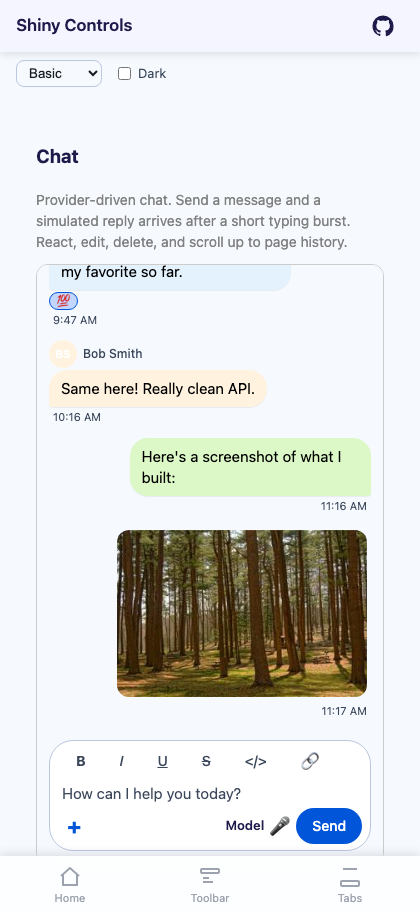
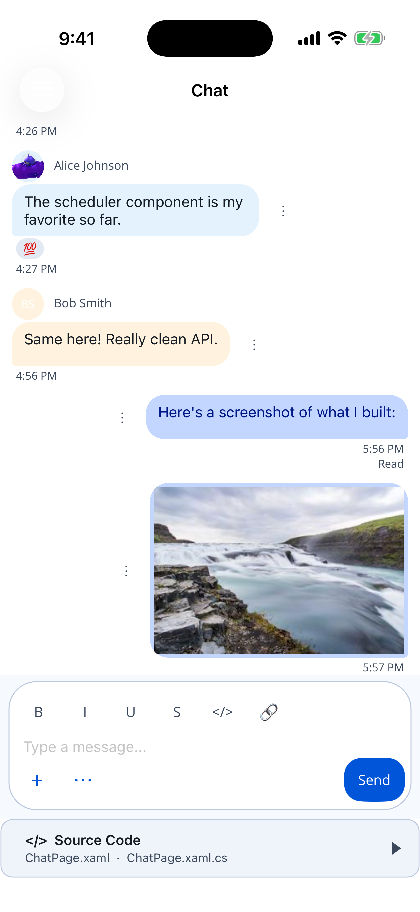
A modern, provider-driven chat UI control. ChatView is styles + layout only — all data, lifecycle, permissions, and real-time behavior live behind an IChatSessionProvider you implement. You give the control a Provider and a SessionId; it does the rest: cursor paging, optimistic send, reactions, per-user read receipts, a markdown composition toolbar, image attachments, typing indicators, and a connection banner.


Screenshot
Section titled “Screenshot”MAUI
Blazor
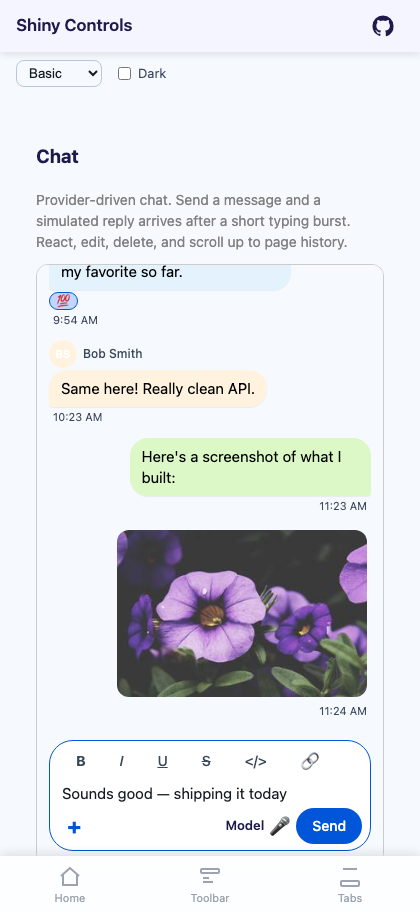
| Bubbles, reactions and composer | Typing in the composer |
|---|---|
 |
 |
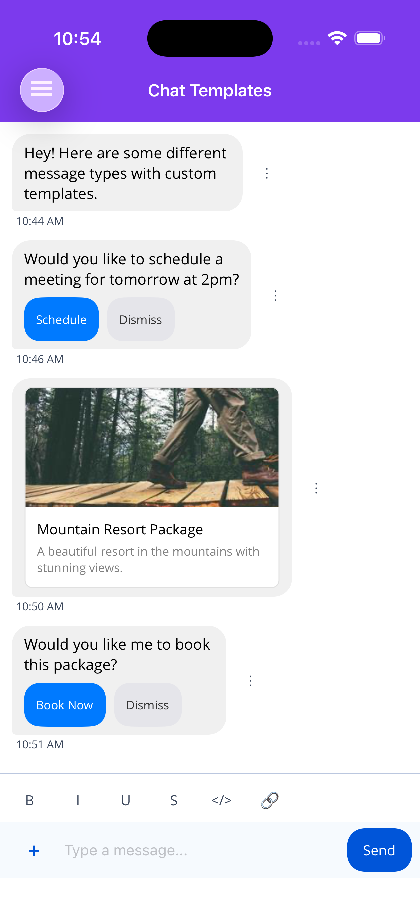
MAUI — reactions, the markdown bar and templates
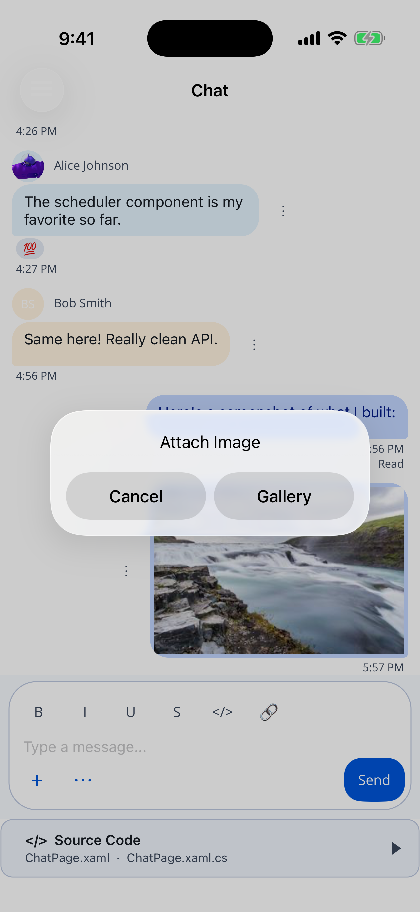
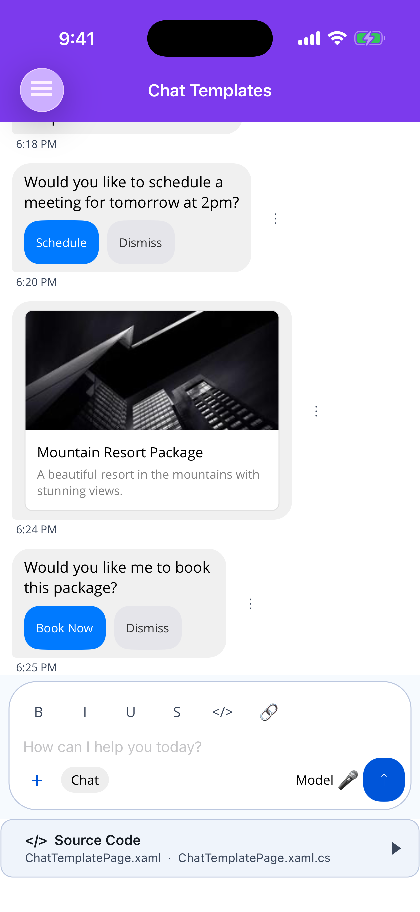
| Reactions and read receipts | Attaching an image | Custom message templates |
|---|---|---|
 |
 |
 |
What Changed
Section titled “What Changed”ChatView no longer binds a Messages collection or wires SendCommand / LoadMoreCommand / Participants / a bubble-tool tree. Those are removed. Instead you implement an IChatSessionProvider that hands the control a session-scoped IChatSession, exactly like the Scheduler’s ISchedulerEventProvider pattern. The control subscribes to the session’s live events on attach and disposes it on detach.
What You Get Out of the Box
Section titled “What You Get Out of the Box”| Feature | MAUI | Blazor |
|---|---|---|
Provider-driven data (IChatSessionProvider + SessionId) |
✓ | ✓ |
| Message bubbles with grouping, timestamps & alignment | ✓ | ✓ |
| Multi-person chat with avatars & per-user bubble colors | ✓ | ✓ |
| Cursor-based load-more paging (stable under live inserts) | ✓ | ✓ |
| Optimistic send (Sending → Sent/Delivered/Read) | ✓ | ✓ |
| Failed (retry) vs Rejected (no retry) send verdicts | ✓ | ✓ |
Emoji reactions (permission + PermittedEmojis driven) |
✓ | ✓ |
| Per-user read receipts | ✓ | ✓ |
Markdown composition toolbar (gated by BodyPermissions) |
✓ | ✓ |
| Inline markdown rendering in bubbles (no Markdown package) | ✓ | ✓ |
| Image attachments — gallery + camera (where supported) | ✓ | ✓ |
Tap image → built-in ImageViewer (OpenImagesInViewer) |
✓ | ✓ |
| Typing indicators (animated dots, auto-expiry) | ✓ | ✓ |
| Connection banner + input disable while offline | ✓ | ✓ |
| Permission-driven actions (react / edit / delete / copy) | ✓ | ✓ |
| Scroll-to-first-unread | ✓ | ✓ |
Custom input + bubble actions (ChatInputAction/ChatBubbleAction) |
✓ | — |
Custom message templates (MessageTemplate/MessageTemplateSelector) |
✓ | — |
| Speech-to-text input / text-to-speech bubble (SpeechAddins) | ✓ | — |
| Haptic feedback | ✓ | — |
Quick Start
Section titled “Quick Start”xmlns:shiny="http://shiny.net/maui/controls"
<shiny:ChatView Provider="{Binding Provider}" SessionId="{Binding SessionId}" MyBubbleColor="#DCF8C6" OtherBubbleColor="White" />public partial class ChatViewModel : ObservableObject{ public ChatViewModel(IChatSessionProvider provider) { this.Provider = provider; this.SessionId = "demo"; }
public IChatSessionProvider Provider { get; } public string SessionId { get; }}Blazor
Section titled “Blazor”@using Shiny.Blazor.Controls.Chat
<div style="height: 600px;"> <ChatView Provider="provider" SessionId="@sessionId" /></div>
@code { [Inject] public IChatSessionProvider provider { get; set; } = default!; string sessionId = "demo";}You supply the IChatSessionProvider — see The Provider Interface for a full in-memory implementation.
Documentation Sections
Section titled “Documentation Sections”| Section | What You’ll Learn |
|---|---|
| Getting Started | Install, register, and the minimal end-to-end chat |
| The Provider Interface | IChatSessionProvider / IChatSession, lifecycle, events |
| Messages & Paging | ChatMessage, cursor paging, optimistic send, edit/delete |
| Permissions | ChatSessionPermissions, MessageBodyPermissions, exceptions |
| Reactions & Read Receipts | Emoji reactions, PermittedEmojis, per-user receipts |
| Markdown & Input Bar | Composition toolbar, supported subset, input styling |
| Images & Attachments | Gallery/camera, OutgoingAttachment, ImageViewer |
| Typing & Connection | Typing indicators, connection banner |
| Message Templates | Per-message rendering with Identifier/Metadata |
| Custom Actions | ChatInputAction/ChatBubbleAction, SpeechAddins |
| Scenarios | Read-only, support, group chat, FloatingPanel hosting |
| API Reference | Full provider/session/record/enum + control tables |
AI Skill
Section titled “AI Skill”Step 1 — Add the marketplace:
claude plugin marketplace add shinyorg/skillsStep 2 — Install the plugin:
claude plugin install shiny@shinyOne plugin installs all 36 Shiny skills. Your agent loads only the skill relevant to what you're building, so there's no cost to having them all available.
Step 1 — Add the marketplace:
copilot plugin marketplace add https://github.com/shinyorg/skillsStep 2 — Install the plugin:
copilot plugin install shiny@shinyOne plugin installs all 36 Shiny skills. Your agent loads only the skill relevant to what you're building, so there's no cost to having them all available.